The Wall
Contact
The Wall
Contact
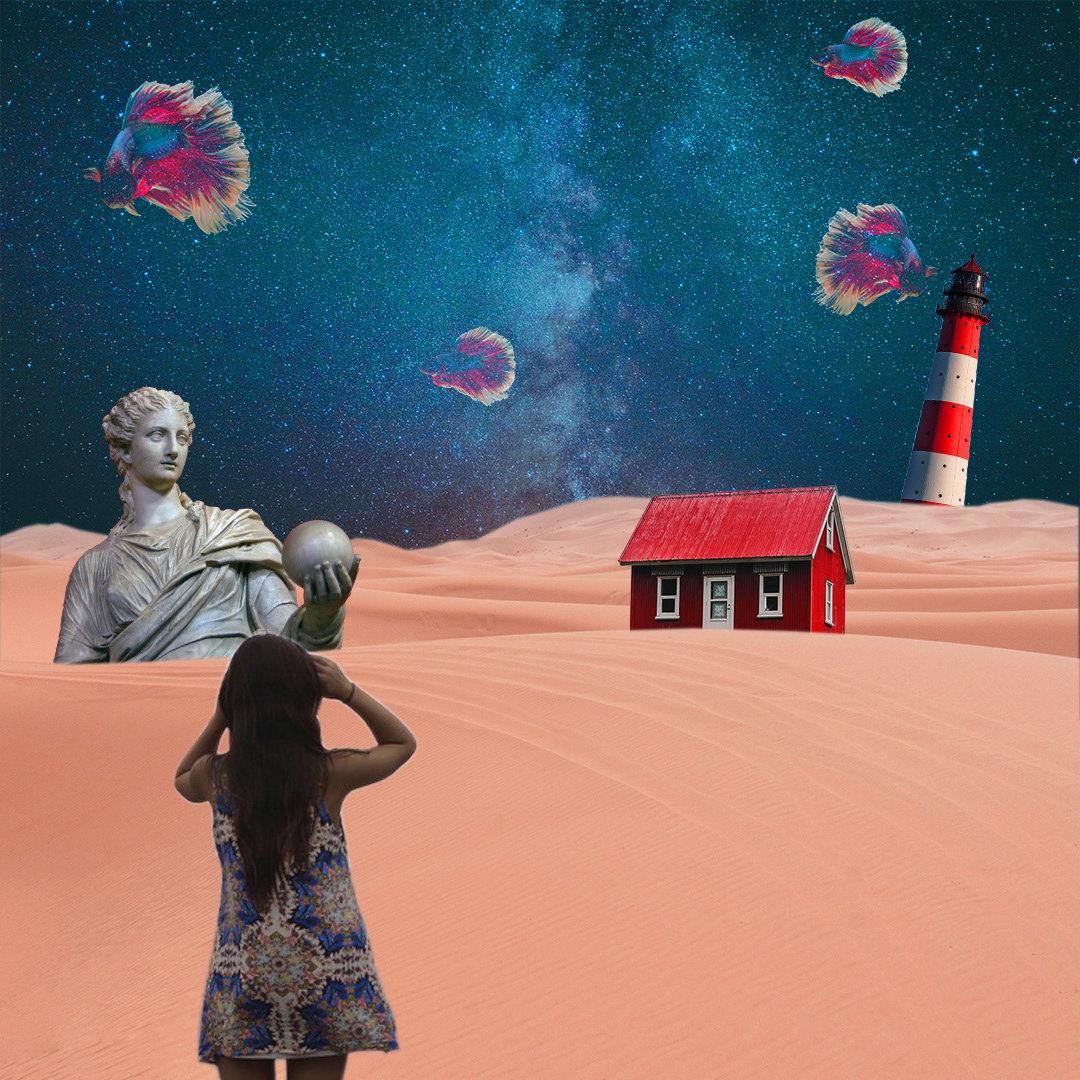
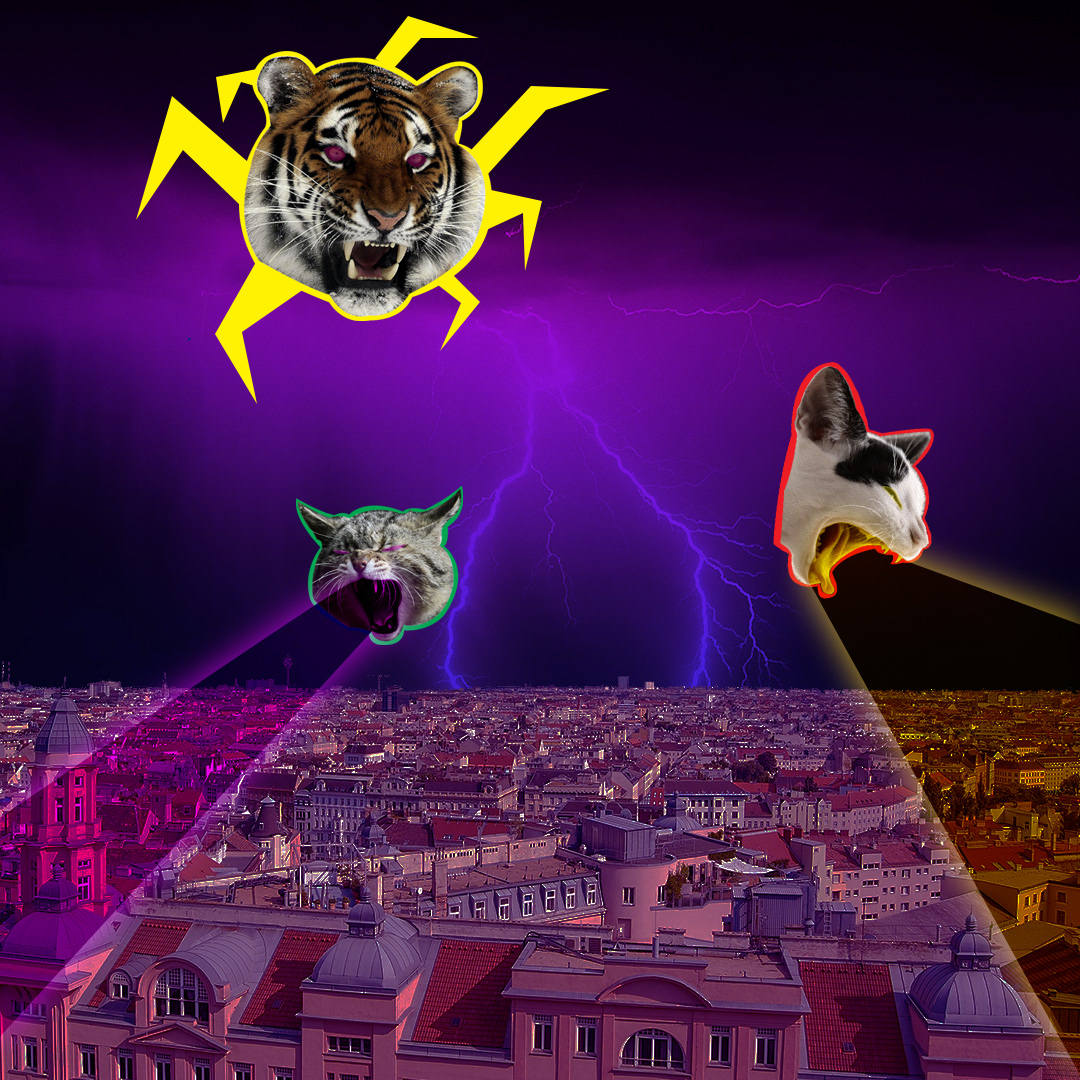
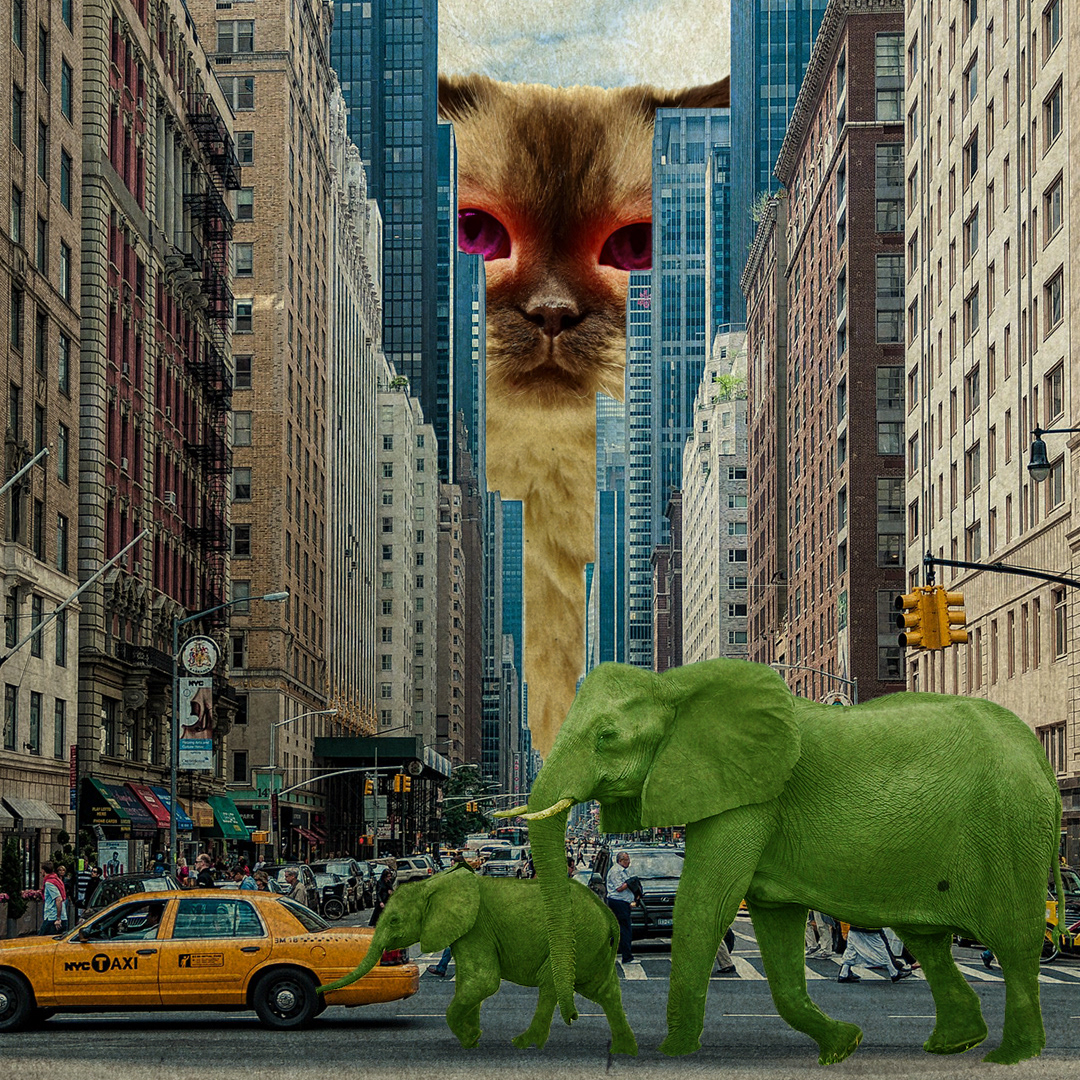
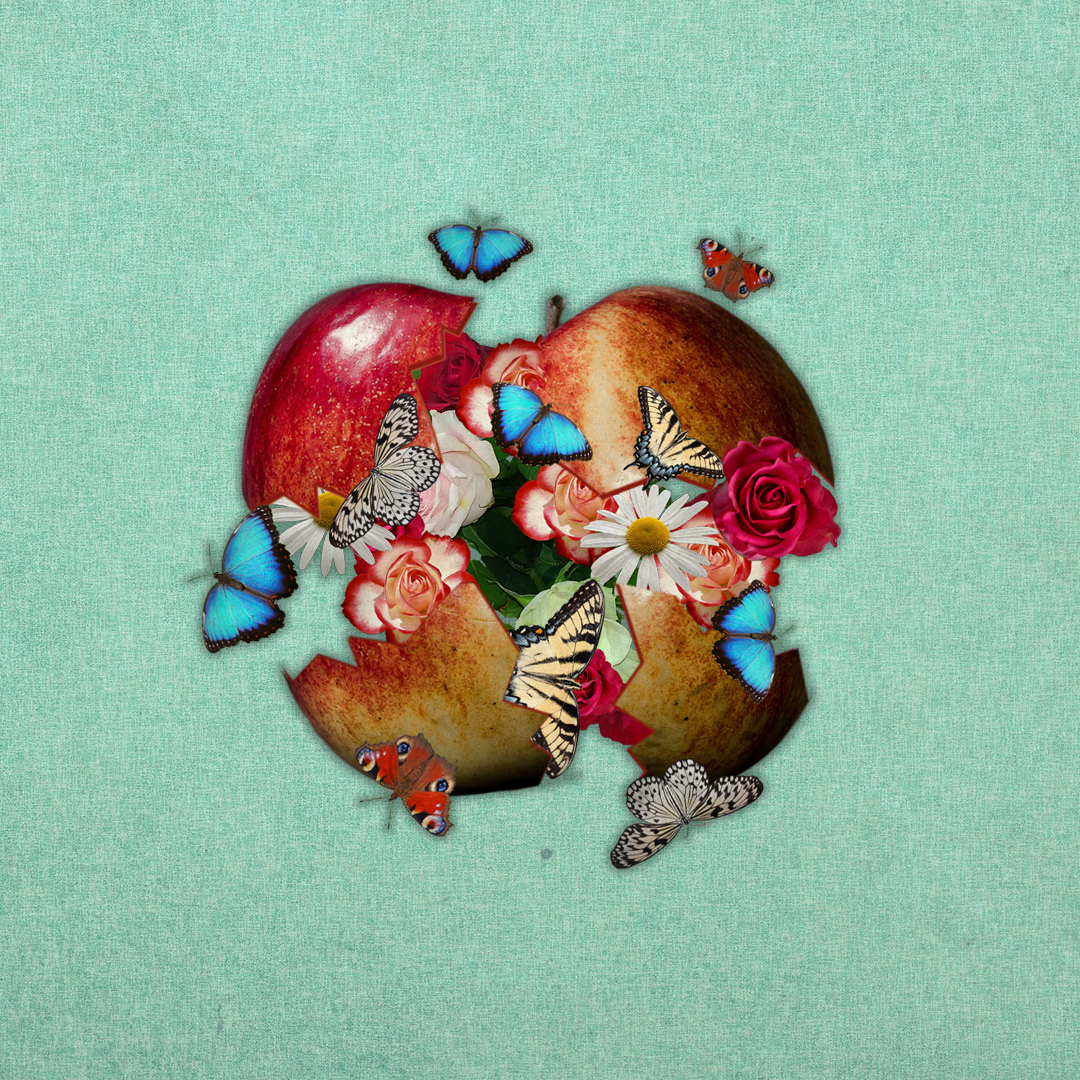
Photo manipulation part 2
↑
Back to Top